It’s time to learn How to Take Screenshots on iPhones 13, 12, 11, and lower versions, Also you are going to see different Edits options and how to share the screenshot.
Steps to Take Screenshot on iPhone 13, 12, 11 using Buttons
This is the easy and simple method anyone can do to take a screenshot on iPhone 13, 12, and 11, this works the same on iPhone X and other models too.
PRESS AND HOLD THE POWER AND VOLUME UP BUTTON FOR A SECOND

When you do that, you can see the preview of the screenshot at the bottom left corner, which will get saved in your iPhone. To find your screenshots – Open Photos, Go to Albums, and then Screenshots.
Sometimes you might feel this quite hard, reasons might be –
- Not good at pressing the buttons simultaneously, which results in volume raise or Phone lock
- Another hand is busy and pressing the 2 buttons with a single hand is quite difficult.
- Your volume button is not working and you are living with that.
That’s why we have a second option for you to take screenshots with your iPhone,
Screenshot on iPhone 13, 12, 11 using Assistive touch
Assistive touch will help you take screenshots in one hand, no button click is needed. Just assign the Screenshot option to your Assistive touch, and whenever you want to take a screenshot click on the assistive touch and press screenshot.
Steps to Enable Screenshot through Assistive touch:
- Go to Settings -> Accessibility -> AssistiveTouch -> ON
- Open Customise Top Level Menu (Just below AssistiveTouch option)
- Click on Custom icon (Star)
- Choose Screenshot.
Now on clicking Assistive touch, you can see a screenshot option, through which you can take screenshots easily and quickly on your iPhone 11.
Steps to Edit a Screenshot on iPhone 13, 12 and 11
When you take a screenshot you can see the image on the bottom left corner, click on that to start editing.
You can crop the image by adjusting the margins, You also have Pencil, Brush, Eraser, and much more to explore your editing skills.
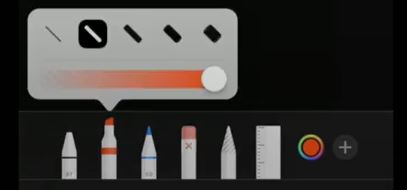
Choosing brush, you can change the size, also for pencil, pen, and other writable, Click on the eraser to remove Pixel or the object. Also, clicking on the Ruler will bring out a ruler to help you more. Clicking on the + button will give you many other options-
- Text
- Signature
- Magnifier
- Opacity
- Shapes
Now once you are done with editing, click on the share button at the top to share the screenshot with your friends or colleagues, through WhatsApp, email, or any medium you want.
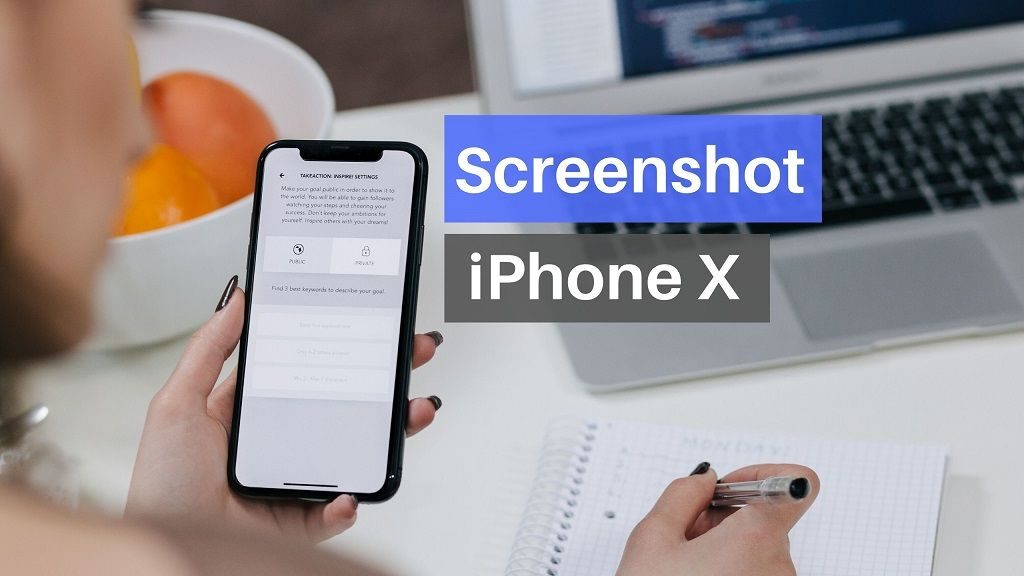
Looking forward to taking screenshots on your iPhone X or XS or XR? Follow this post – Screenshots from your phone can enhance your communication experience, sharing clips of your favorite videos, your calorie and steps count, high scores from your games, conversations on social networks, and almost anything and everything you see on your screen. Conventionally, in previous versions of the iPhone the screenshots were taken by clicking on both the Home and Power buttons. But with iPhone X, and iPhone XS, iPhone XS Max, and iPhone XR, the Home button is ditched! In my previous post, I wrote about How to Take a screenshot on MAC.
Ways to Take Screenshot on iPhone X
So, how exactly do you capture the screen now?
The simple answer to this question is: Just press and release the lock button and volume up button at the same time.
As the iPhone Face ID is replaced with Touch ID taking a screenshot is slightly different from other iPhones. It will take time for you to get used to it. There are many ways of taking a screenshot. Let us discuss it :
The Simplest and the easiest way of capturing screenshots is just to press and release the lock button on your right-hand side and the volume up button on your left-hand side at the same time.
You can also try Screenshots on other devices:
1. How to Take a Screenshot on Android
2. How to take screenshots on Chromebook
3. How to Take Screenshot on MAC
4. How to take a screenshot on Windows PC
2. iPhone X Screenshot using Assistive touch :
Some other way of taking a screenshot is by turning on “Assistive touch”. It involves many things. Such as, activating 3-D touch or multi-finger swiping.
- Go to the setting. Click on accessibility.
- Now click on Assistive touch.
- Tap customize the top-level menu.
- Now the list of different choices will appear and you can scroll down to add screenshot. You can also choose how you want to open up the menu.
- After this tap on the screenshot. You’ll see white flash which means that you have successfully taken the screenshot. And in case your phone isn’t in silent mode. You will hear a shutter noise as well.
- Your screenshot will appear on the bottom left corner of your screen And if you don’t swipe left it will get disappeared automatically in some time and save to the camera roll.
- If you tap on the screenshot you’ll get an option to edit the picture.
Apart from editing there are many options like to crop or magnify the image and you can also mark it up with a variety of coloring tools. You can also share the screenshot on your social networking like Instagram, Facebook or wherever you want to share it.
You may also like:
1. Screenshot on Windows PC
2. Screenshots on Chromebook
3. Antivirus App for iPhone
4. App Locker Apps for iPhone
5. Video Editing Apps for iPhone
3. Taking screenshots with the help of an App
It is not important to use traditional methods to take a screenshot. In case if your volume button stops working you can download a few apps like screenshot-frame maker, DS screenshot, or screenshot from iTunes to capture a screenshot.
If we talk about android phones over iPhone the process of taking a screenshot is slightly different too. In android, you just have to click on the lock button and volume up button which is located in the same place but the iPhone x lock button is located on the right side and the volume button is located on the left side which decreases the chances of an accidental screenshot. Now when you know about the many different ways of how to take a screenshot on the iPhone, you can use any technique as per your ease and comfortability.